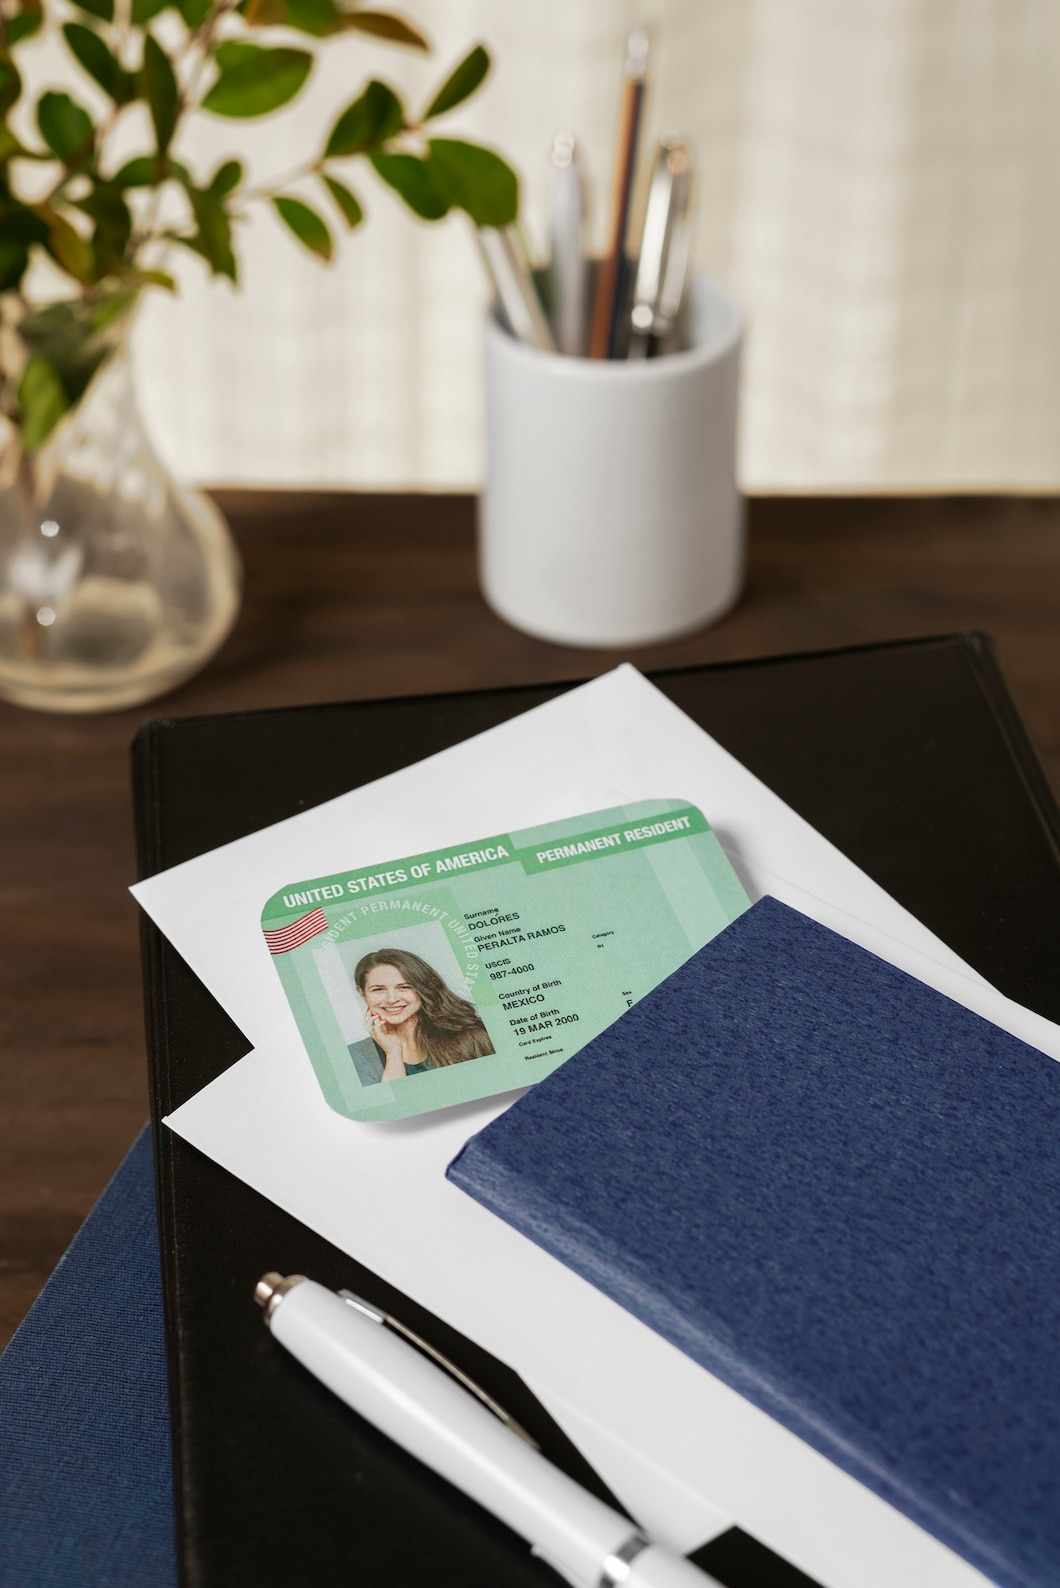
Applying for a U.S. Green Card is an exciting opportunity, but even small mistakes can get your application rejected. One of the most common issues is submitting an incorrect photo. That's where a green card photo tool can save you a lot of stress. It helps you make sure your photo meets all the official rules, so you don’t have to start over.
In this guide, you’ll learn why using a photo tool matters, how to use one, and what you should know before uploading your photo. This article is written with you in mind—easy to read, helpful, and made to guide you every step of the way.
Why Your Green Card Photo Matters
When you apply for a Green Card, your photo isn’t just for identification. The U.S. government uses it to verify your identity and make sure everything is correct. If your photo doesn’t follow the rules, your application can be delayed or denied. That’s frustrating, especially when the process already takes time.
With a proper photo tool, you can avoid simple mistakes like:
Wrong head size
Incorrect background
Poor lighting or shadows
Blurry or low-quality image
Wrong dimensions or file format
That’s why using a trusted green card photo service or app makes a big difference.
Common Photo Requirements You Should Know
Even before using a photo tool, you should know what the government expects. Here are the basic rules:
Your photo must be in color.
The background should be plain white or off-white.
Your face should be centered and visible.
Headphones, glasses, or headwear (except for religious reasons) are not allowed.
The photo should be recent—no older than 6 months.
Image dimensions must be 2x2 inches (or 600x600 pixels digitally).
These rules seem simple, but it’s easy to get them wrong if you take the photo on your phone without a guide. A good photo tool helps fix issues automatically.
How a Photo Tool Helps You
Here’s what a smart photo tool usually does for you:
Automatic framing: It adjusts the picture so your head is the right size and centered.
Background editing: It removes busy backgrounds and adds a plain white one.
Lighting correction: If your photo is too dark or too bright, it can fix the exposure.
Format resizing: It saves your photo in the correct size and file type.
You don’t need to read a long list of rules or guess what’s right. The tool does the hard work for you. You just upload your photo, and it transforms it to meet the official rules.
What to Look for in a Good Photo Tool
Not all tools are equal. Here are some features that make a tool helpful and trustworthy:
It follows the latest U.S. photo rules.
It corrects backgrounds automatically.
It highlights or warns about any errors.
It’s easy to use and doesn’t require editing skills.
It works on both phone and computer.
Choosing a tool with these features makes your life easier and gives you peace of mind.
Step-by-Step Guide: Using a Photo Tool for Your Green Card
Let’s walk through the basic steps of using an online tool to fix your photo:
Take a new photo: Stand in front of a plain wall and use natural light. Make sure your head and shoulders are visible.
Upload the image: Open the photo tool and add your picture.
Let the tool process it: It will auto-detect issues like size or lighting and fix them.
Review your image: Make sure you look natural and neutral-faced. Your eyes should be open, and your hair should not cover your face.
Download the image: Save the final version. Most tools offer both digital and print-ready files.
Submit confidently: Use the corrected photo in your Green Card application.
This simple flow helps you avoid common mistakes and keeps the process stress-free.
Mistakes You Should Avoid
Even with a great tool, you must be careful not to make these errors:
Using a selfie with poor lighting.
Wearing glasses or accessories.
Smiling widely, frowning, or making expressions.
Editing your face or background beyond the tool’s features.
Uploading an old picture—from more than 6 months ago.
Staying aware of these mistakes helps you use the tool properly and avoid rejection.
Why Doing It Yourself Doesn’t Always Work
Many people think they can take the photo themselves and edit it using regular apps. This usually leads to mistakes like incorrect cropping or wrong backgrounds. A regular picture editor doesn’t know the exact visa rules, so the photo may look okay to you but get rejected later.
On the other hand, a specific Green Card photo editor understands what’s needed. It’s built to follow official rules, so you don’t have to think twice.
Can You Use Your Smartphone?
Yes, you can use your phone camera. In fact, many people do. Just make sure the background is clear, and the lighting is good. Don't use filters or selfie mode. A front-facing camera may distort your face, so it's better to have someone else take the photo.
Then, upload it to a photo tool that adjusts everything. This way, you don’t have to go to a studio or pay extra fees.
Final Thoughts
Using a green card photo tool is a simple way to avoid delays in your Green Card application. It helps you meet all the official photo rules without stress. You can upload your picture and get a perfect result in just a few minutes.
If you're looking for a reliable and easy option, try using ID PHOTO BY AI. It gives you quick and accurate results, saves time, and reduces the chance of getting rejected.


Write a comment ...